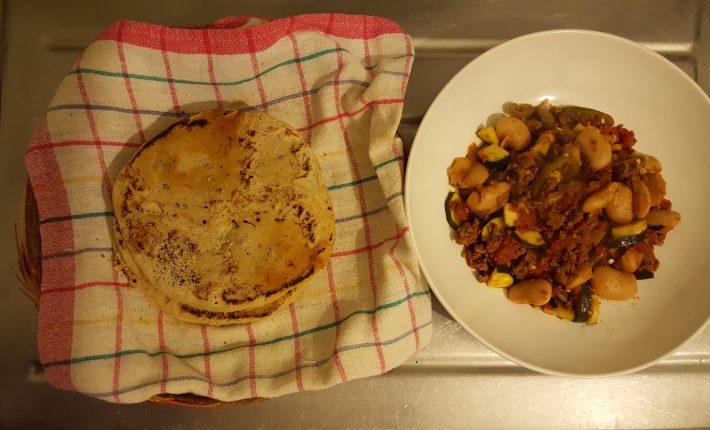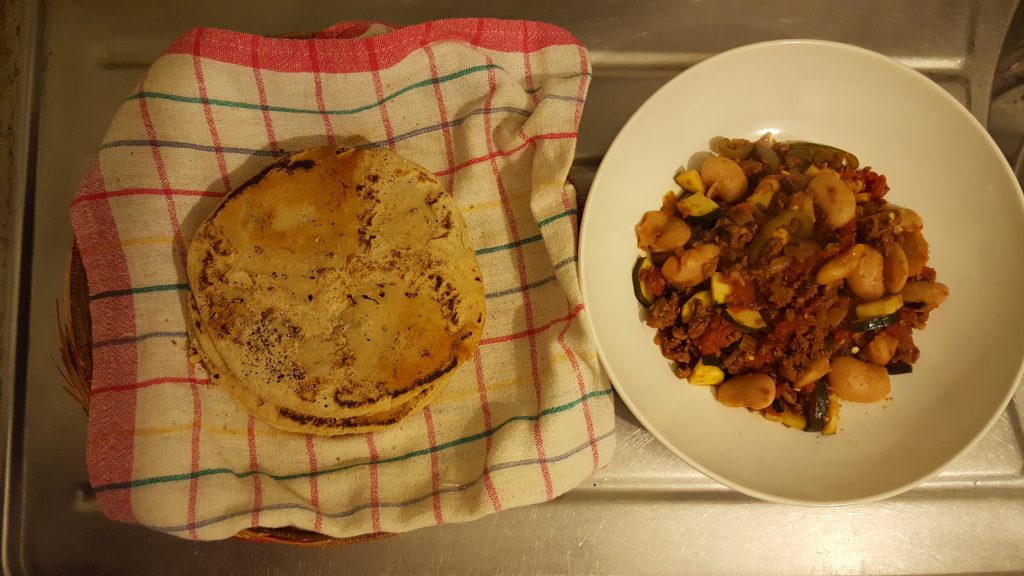
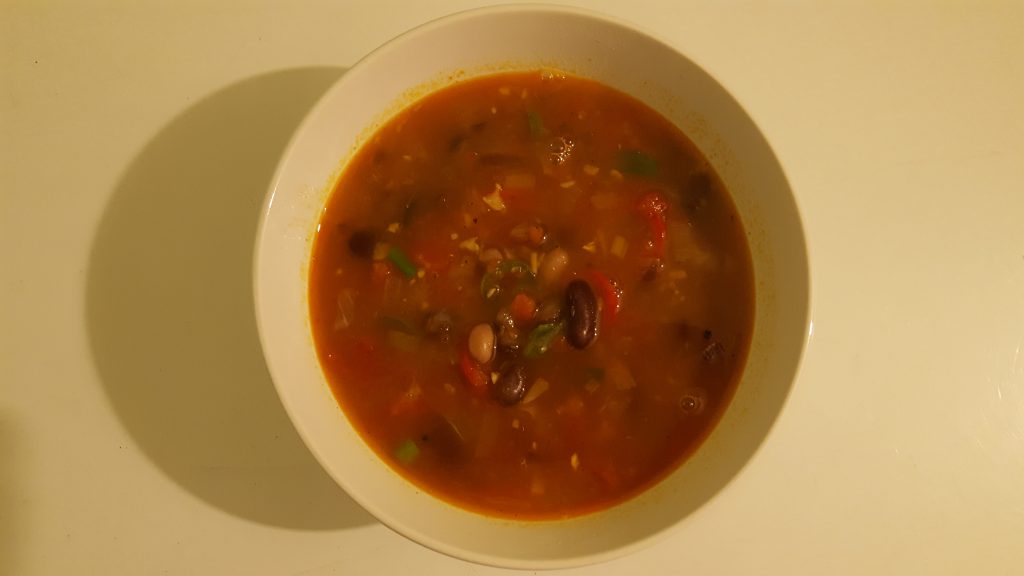
During the winter months, I enjoy warm, hearty meals with a bit of a kick to fight off those lazy days and over-eager bugs! The Spicy Winter Soup with chicken proved very popular among my family and friends, however, being vegetarian this month meant that I would be getting my protein source from elsewhere! Cue, pulses, in the form of beans, the tinned variety!
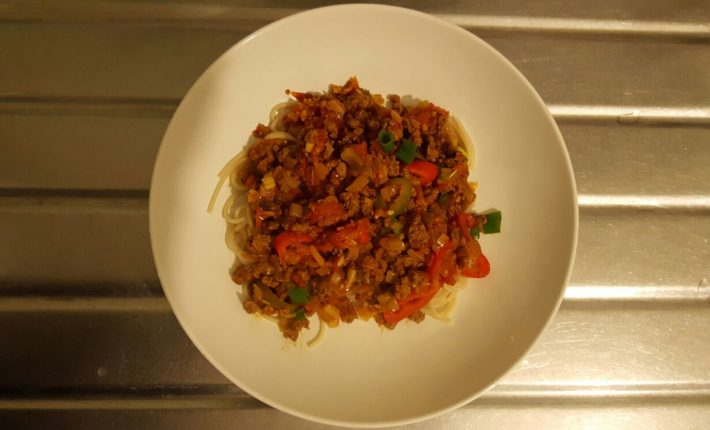
Beans are hearty, full of vitamins and minerals, and loaded with protein! Tinned or dried, we have been eating them in various meals for years in our household! If you want to have this as a chilli con carne type meal or increase the protein content, simply reduce the water and add in mincemeat, Quorn or tofu.
I had a busy day and was hungry so had my soup with German rye bread, which is naturally love in gluten and heavy! Two slices do me every time! You can have your soup with whatever you wish! You can even serve it with rice, quinoa or any other carb staple, just remember to not add 1 litre of water, unless you want a sloppy mess!
This recipe is meat free, gluten free, and dairy free, but highly nutritious and delicious, even if I do say so myself!
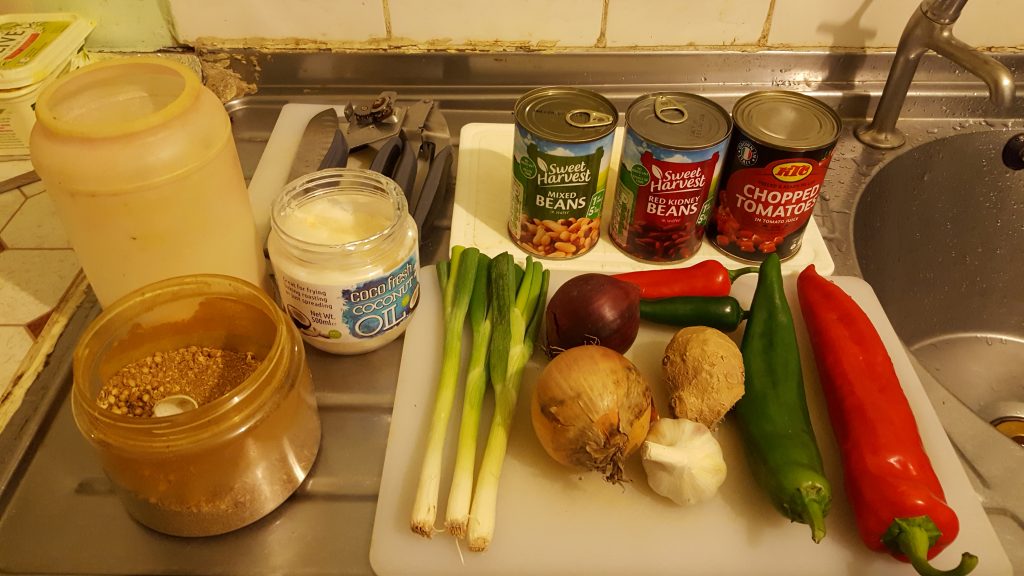
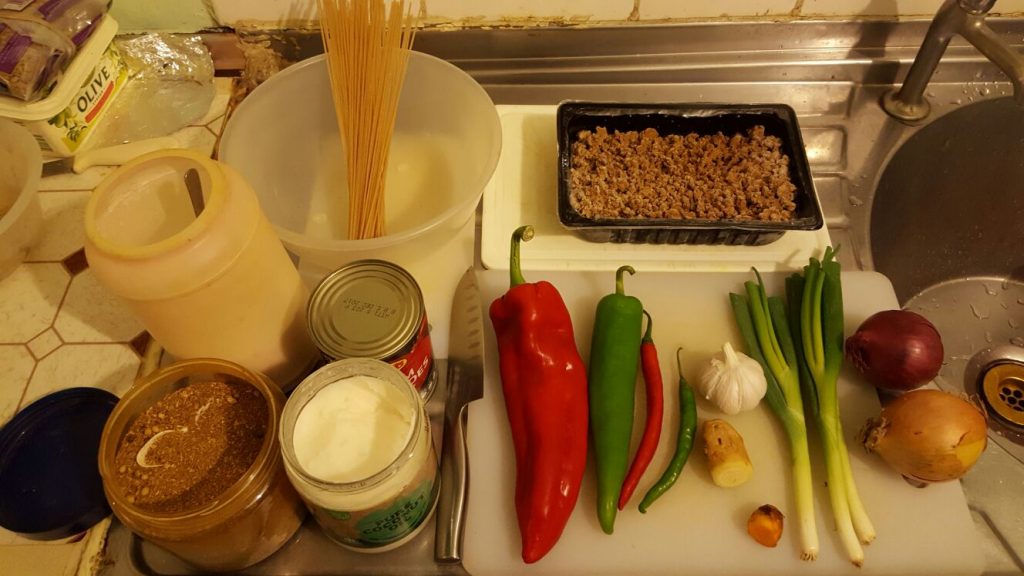
INGREDIENTS
Four Bean Supreme Soup
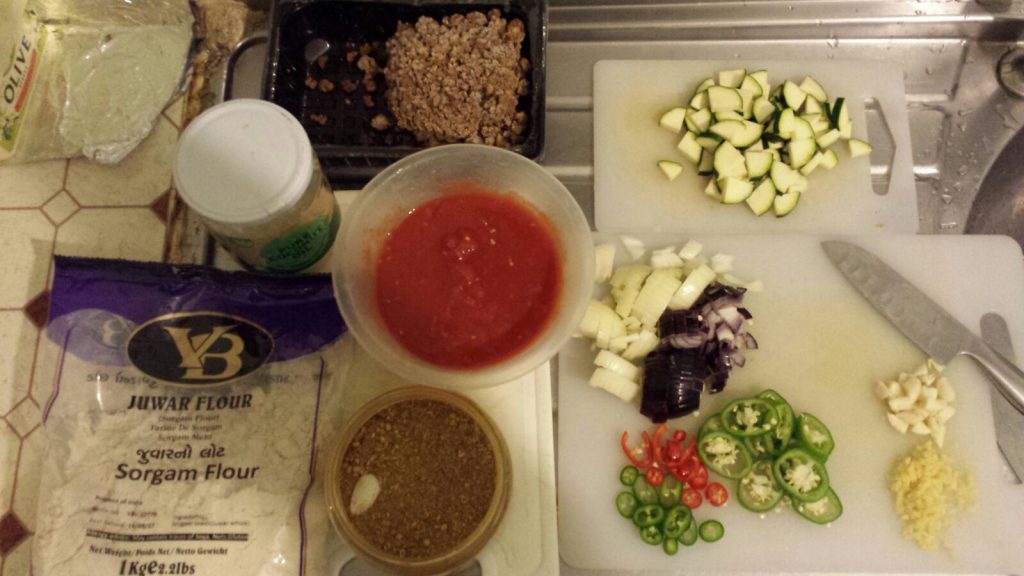
1 red onion
1 onion
3 spring onions
4 cloves garlic
1 cm ginger
½ red chilli
½ green chilli
½ red pepper
½ green pepper
½ teaspoon dried coriander
1 tin chopped tomatoes
¼ tin red kidney beans
1 tin mixed beans (containing Adzuki, Cannellini and Haricot beans, you can use any mix you like)
Salt and pepper to taste
2 teaspoons coconut oil
1 litre filtered water, boiled
RECIPE
Four Bean Supreme Soup
- In a large saucepan, melt 2 teaspoons coconut oil, and add in sliced and diced red, normal and spring onions (keep the green leaves until the end), crushed garlic, chopped ginger and turmeric, and sauté until golden brown, cooking on 3/4 heat;
- Add in 1 tin chopped tomatoes, dried coriander, ½ teaspoon salt, and cook until the water evaporates for an infused and blended taste. I added in the chillies at this step because I wanted a spicier soup;
- Add in the chopped peppers and beans, mix gently and add in the boiling water;
- Cover and leave to cook for around 10 minutes on ¼ heat, stirring occasionally and to check the ingredients are done as you like them;
- Your Four Bean Soupreme is served! (If you wish, garnish with fresh coriander, parsley, basil or even mint!).
Preparation time: 15 minutes
Cooking time: 20 minutes
Eating time: 15 minutes
Serves 2-4 people
Let me know how you get on and please feel free to provide feedback 🙂