My Italian friend Giovanni was having a dinner party at his and invited his European, hailing from Italy and Spain, over for food and asked us to bring or cook something. As you know, I love to cook, but I also wanted to show off my culinary skills… ehem! Since my friends were European, the food had to be good! I wanted to make something which was relatively easy to transport, didn’t need any Tupperware and people could just pick up and eat on a small plate. I also had to ensure that it was tasty in terms of spices but not too spicy hot since various people had different levels of tolerance, and I am a softy when it comes to spicy hot !If you are wondering why I used 3 different bell peppers, it’s simple, I like my food to be colourful and appetising!
I had made stuffed peppers before but I wanted to make sure I nailed it right this time. The time before, I didn’t have enough tomato puree and it showed up in the taste test!
If you are wondering how I managed to transport this to Giovanni’s place directly from the oven, then here’s the spoiler – mum came to the rescue with a brilliant idea! She covered the top with more aluminium foil, and then wrapped it in packing paper we had lying around from various deliveries, popped it in a large shopping bag and I was ready to roll! When I arrived 10 mins later, the food was still piping hot and ready to eat, and thankfully, they all enjoyed it!
For my vegetarian/vegan friends, you can swap the beef mince with Quorn mince, tofu, legumes and grains, or nut blends.
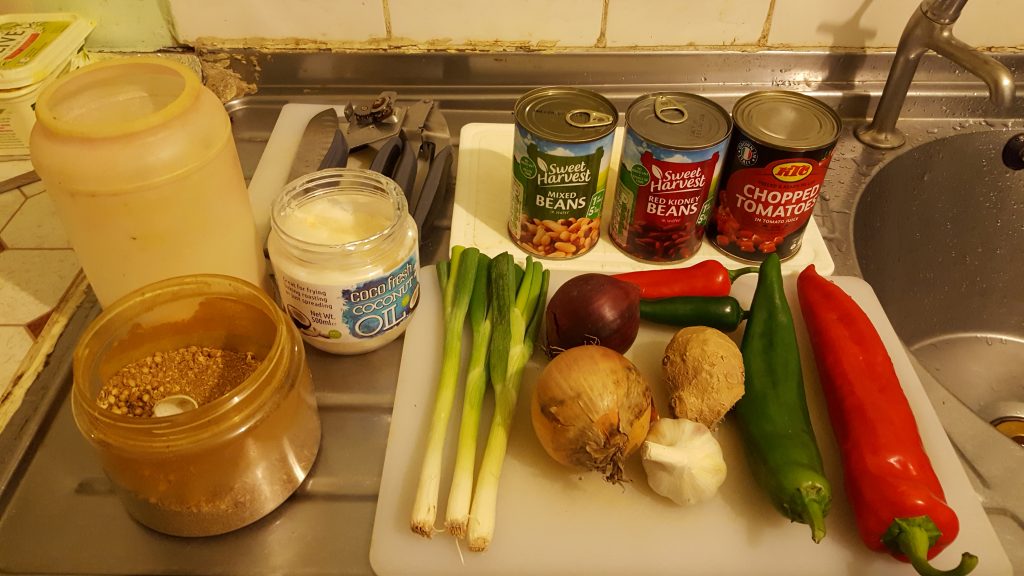
INGREDIENTS
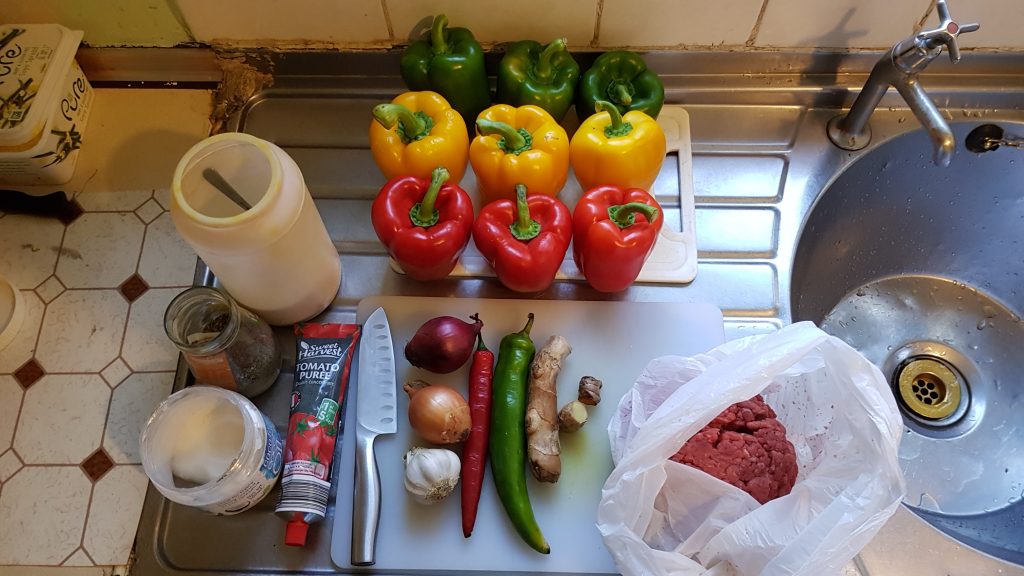
1 kg beef mince
9 bell peppers
1 red onion
1 normal onion
3 cloves garlic
1 cm ginger
1 cm turmeric
1 red chilli
1 green chilli
100 g tomato puree
Salt and pepper to taste
1 teaspoon of coconut oil
RECIPE
- Chop up the onions, garlic, ginger, chilli and turmeric, and sauté at medium heat in a small frying pan with coconut oil.
- In a larger frying pan, cook the beef mince at medium heat until it is cooked through and turned a tan/light brown colour – get rid of all the red bits, unless you like eating raw meat!
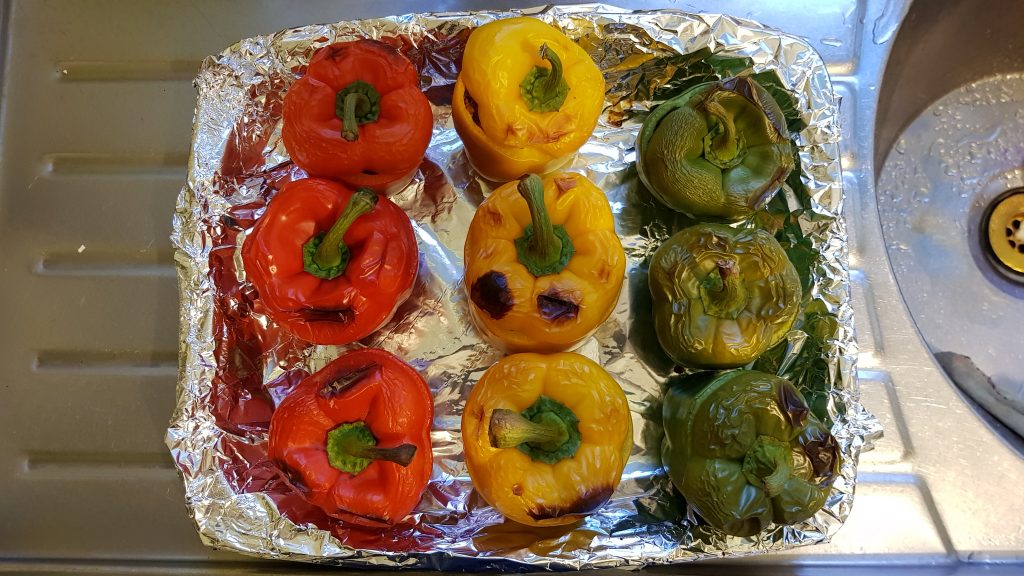
- Whilst the 2 frying pans are cooking, slice the top of the bell peppers off and clean out the insides of seeds and other debris. Be sure to wash to get rid of everything, and shake dry.
- Transfer the sautéed vegetables to the mince meat saucepan and mix thoroughly.
- Add the tomato puree – they tend to be 200 g so use half – and mix thoroughly until cooked.
- Set the oven at gas mark 6/200°C and set a shelf in the middle.
- Line a baking tray with aluminium foil.
- Fill all of the bell peppers with the beef mince mix, cover with the sliced portions, and place in the baking tray.
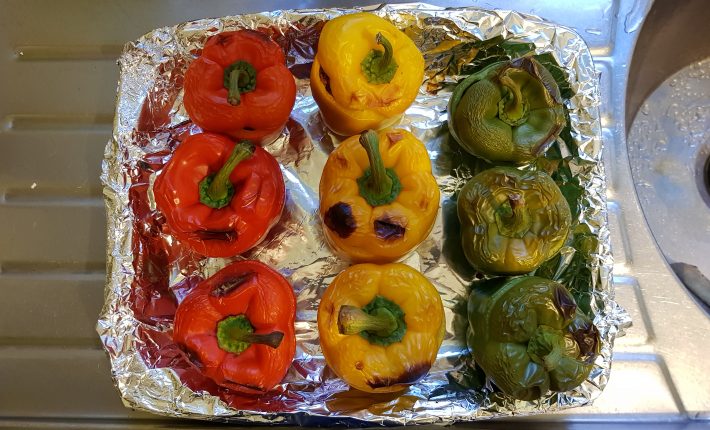
- Bake the bell babies for 30 minutes until the tops begin to turn brown.
- Belle Babies served!
Preparation time: 15 minutes
Cooking time: 45 minutes
Eating time: 15 minutes
Serves up to 9 people – my friends loved these!
Let me know how you get on and please feel free to provide feedback 🙂