I haven’t made a tagine for a while and felt inspired after hearing from my sister from another mister, Hanane. Hanane and I have been friends for about a decade and have become family, with me visiting them and her and her mother visiting us. On my visit to Morocco, I knew I didn’t want to come home without a tagine, and so Hanane and her family helped me get an excellent one for pennies from the Atlas Mountains! Whilst we were visiting Marrakech, we stopped by a road seller selling tagines of all sizes, and I got one for about 50p!
During my time with Hanane and her family, both over in Morocco and here in England, they cooked some wonderful tagines for me, and my mother and I also cooked our slightly spicier versions, and I must say, mum is quite fond of using the tagine!
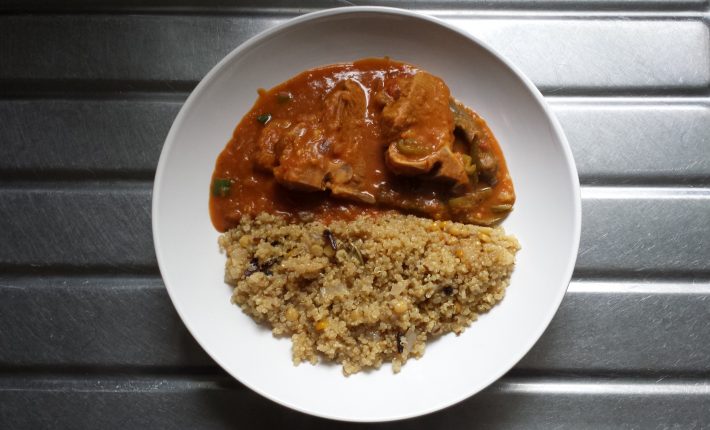
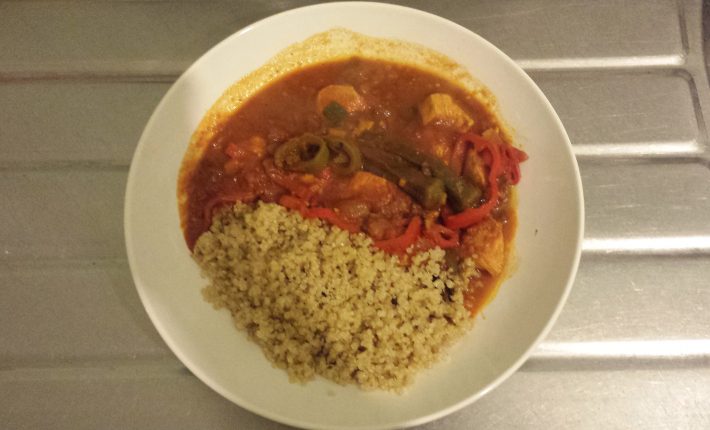
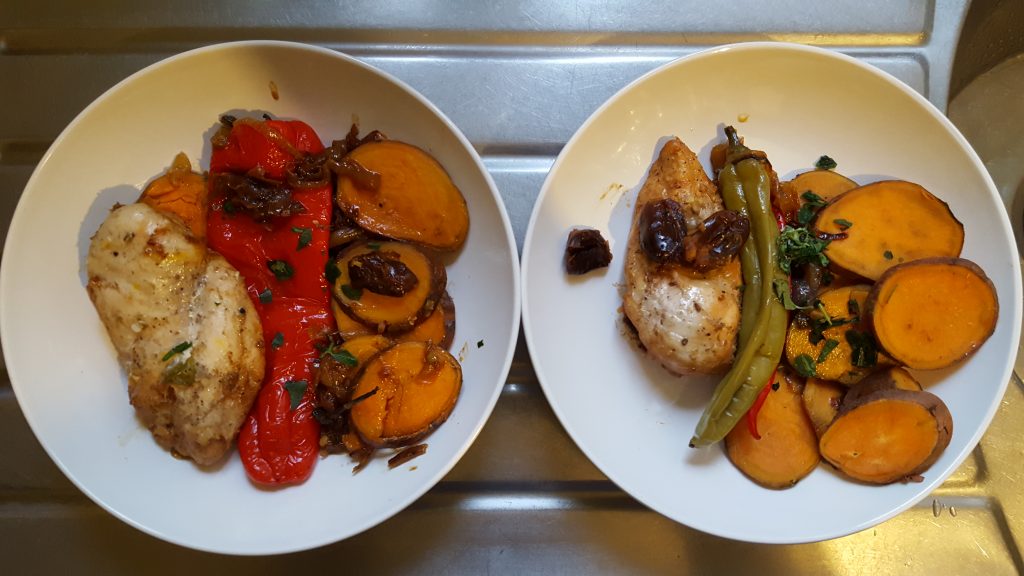
I wanted to cook something healthy, spicy (not too spicy), sweet, filling, rich in protein and healthy carbs, and this is what came to me! My Sweet’n’Spicy Chicken Tagine! It was a lot tastier than I thought it would be and it looks like I will be cooking it again for mum and I!
If you don’t have a tagine, then a casserole dish should do the job too!
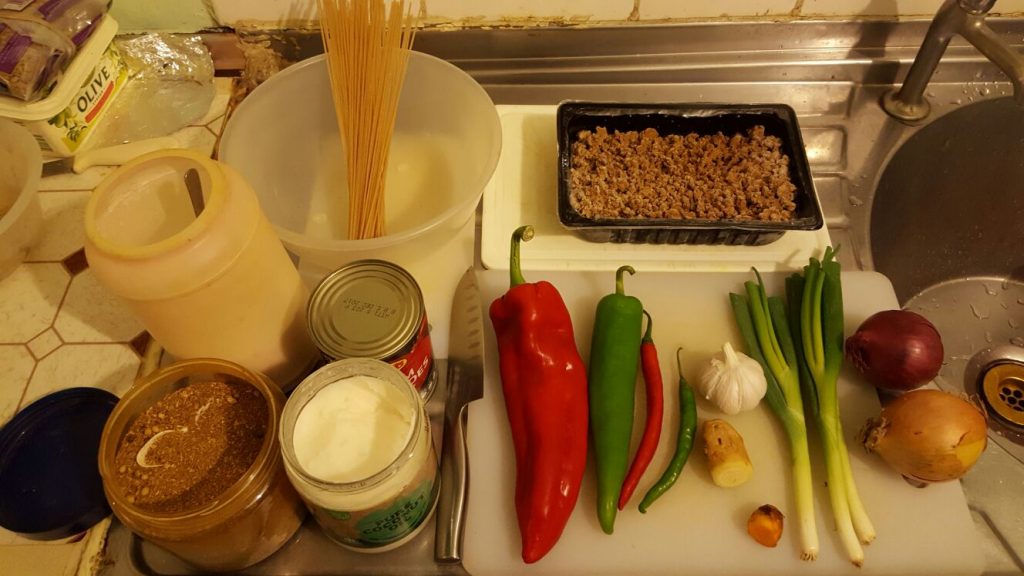
INGREDIENTS
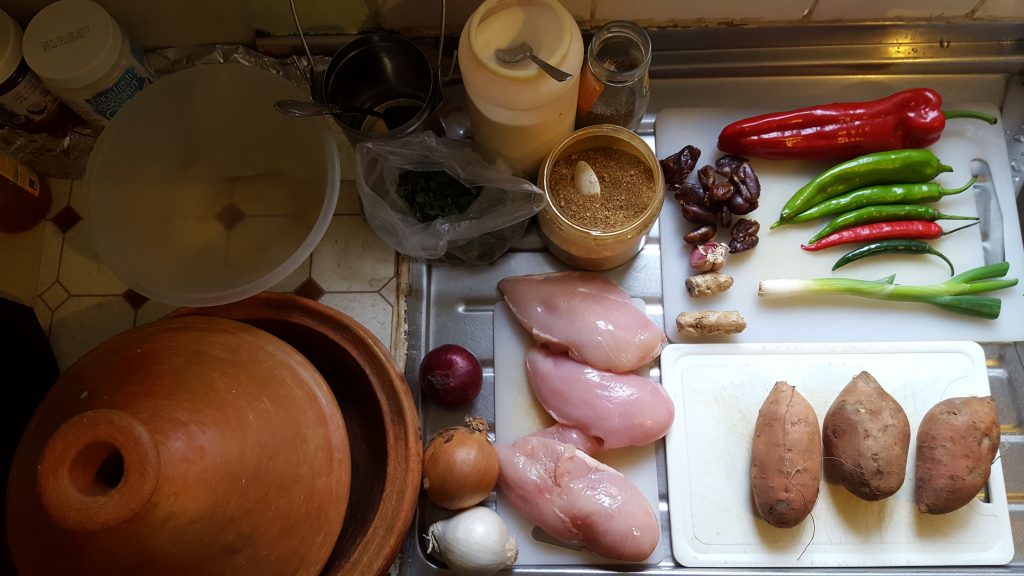
3 chicken breasts
1 red onion
1 white onion
1 regular onion
1 spring onion
3 cloves garlic
1 cm ginger
1 cm turmeric
1 red chilli
1 green chilli
1 red pepper
1 green pepper
3 sweet peppers
20 pitted dates
1 teaspoon dried coriander
Salt and pepper to taste
A pinch of saffron
6 tablespoons olive oil
RECIPE
- Chop up the garlic, ginger, and turmeric, move to a bowl and add 3 tablespoons olive oil, saffron, dried coriander, salt and pepper.
- Clean the chicken breasts, coat them with the mix in the bowl and leave to marinate in the fridge whilst you prepare the rest of the tagine (you can leave it anywhere from 30 minutes to overnight to really get the flavour infusion).
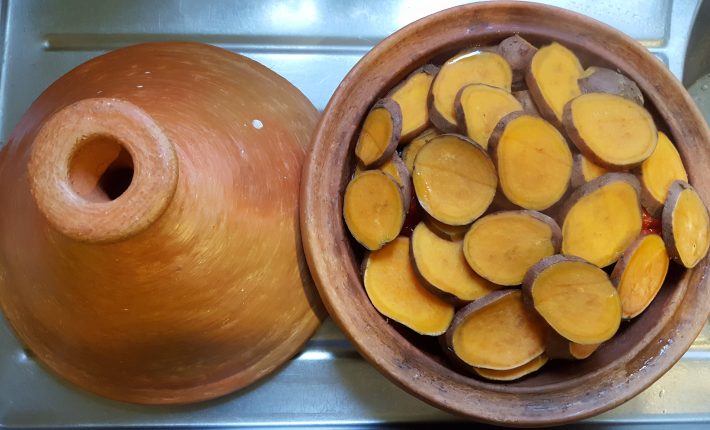
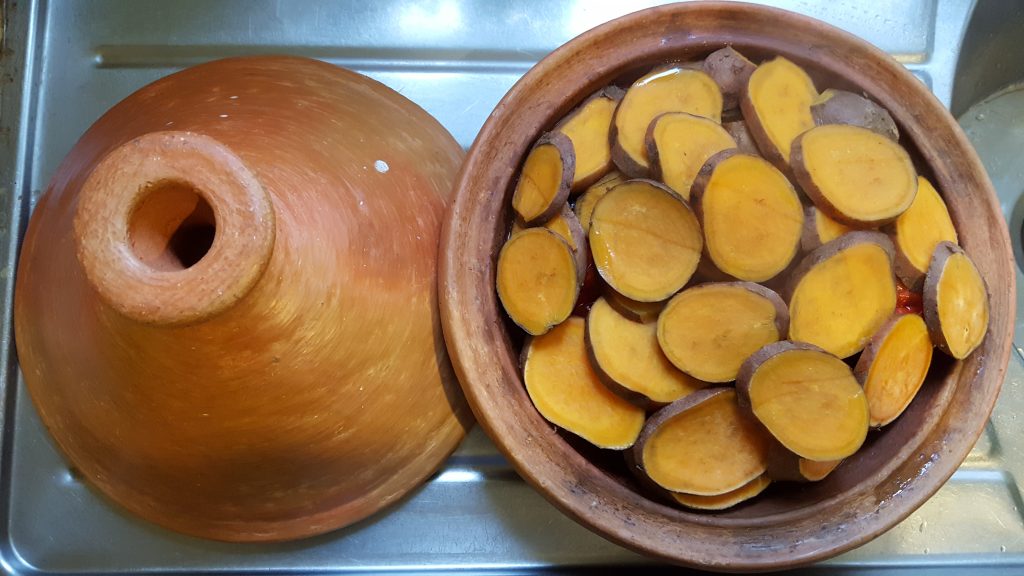
- Slice the onions and sweet potatoes, and wash the chillies and peppers.
- In the tagine, add 3 tablespoons of olive oil, and the red, white, normal and spring onions, covering the bottom and side of the tagine.
- Cover with the tagine lid and cook on a raised bracket on low to medium heat for about 10 minutes, until the onions begin to caramelise.
- Place the chicken over the onions, cover and leave to cook for 10 minutes.
- Turn the chicken and leave to cook for another 10 minutes.
- Turn the chicken again and add the chillies, peppers and dates across the chicken and sides, and leave to cook for 5 minutes.
- Add the sweet potatoes on top and leave to cook for another 10 minutes.
- Sweet’n’Spicy Chicken Tagine is served! (If you wish, garnish with fresh coriander, parsley, basil or even mint!).
Preparation time: 15 minutes
Cooking time: 45 minutes
Eating time: 15 minutes
Serves 2 to 4 people – mum loved hers!
Let me know how you get on and please feel free to provide feedback 🙂